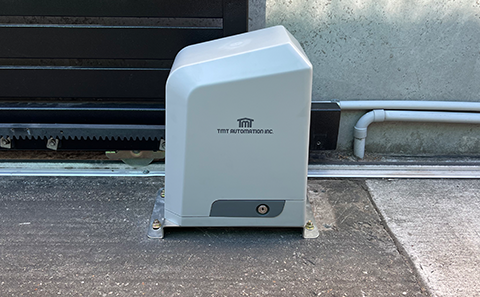
TMT 800LS Quick Setup Guide
Our first step before installing the motor is to ensure that your gate is setup correctly for manual operation.
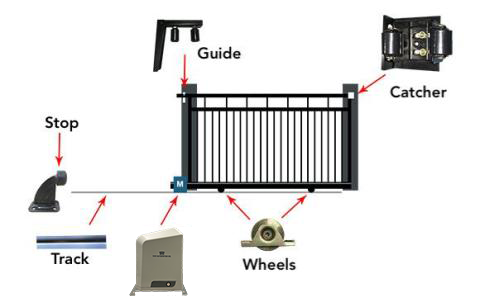
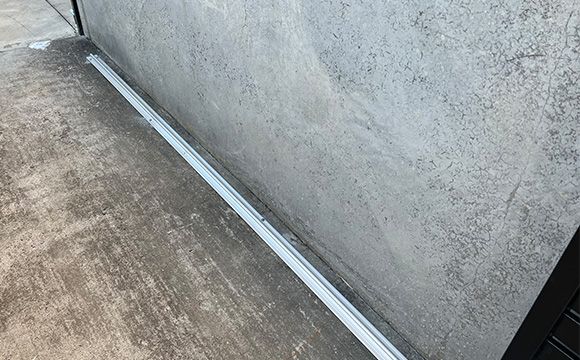
Sliding gate track
Ensure your aluminium or steel track is well bolted down to the concrete with no movement.
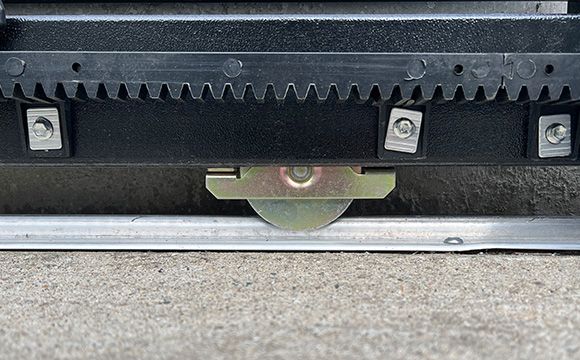
Gate wheels
Ensure your wheels are in good condition and that you can manually push your gate without any change in your push force.
It's not advised to use 3 wheels
Gate stop
A gate stop is required for the open position. This will prevent the gate from running off the track if the gate fails to stop.
The motor will learn from this stop.
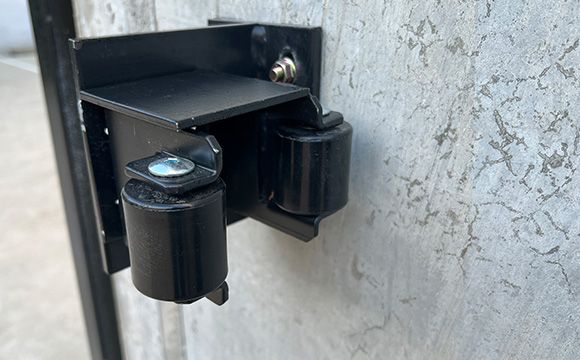
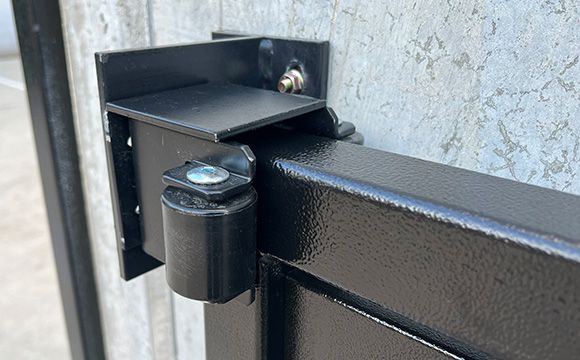
Gate catcher
The gate catcher is required for the closed position of the gate. This will help prevent anyone from trying to lift your gate off the track as well as a fail safe for stopping.
The motor will learn from this stop catcher.
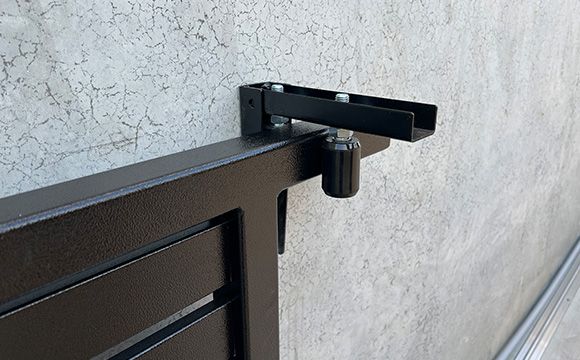
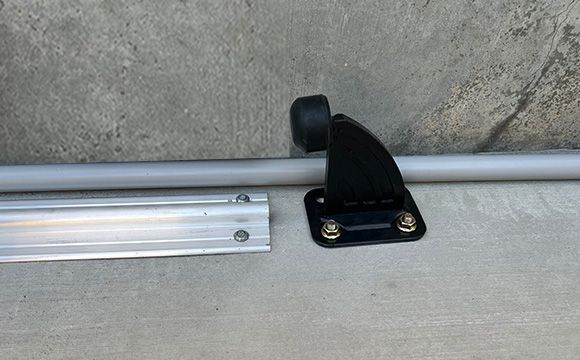
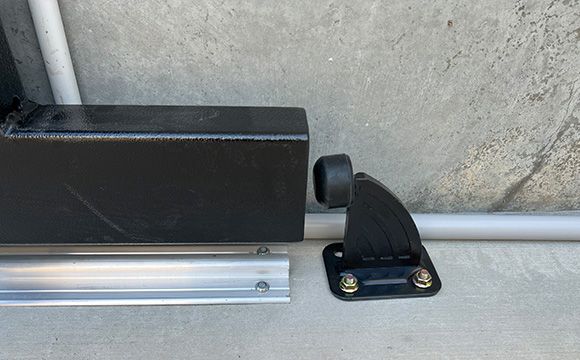
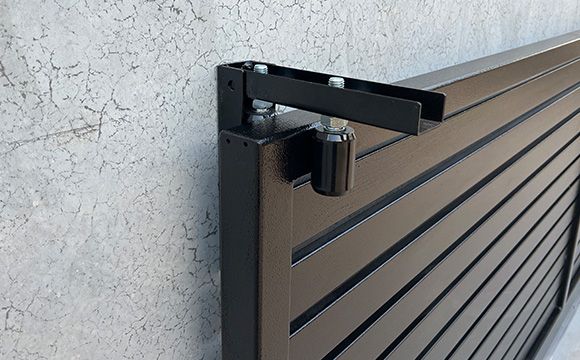
Gate guide
2 options of guiding your gate as it moves and keeping it upright. Firstly the guide and roller setup (as shown in photos) and secondly the slide guide and block setup.
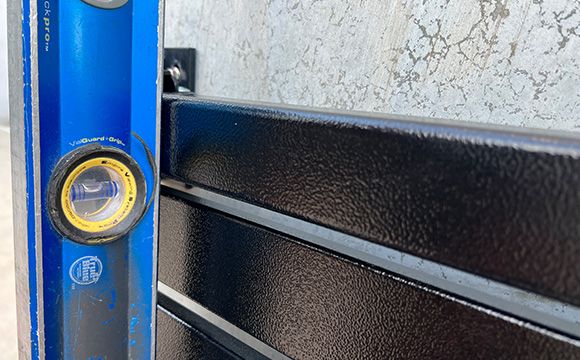
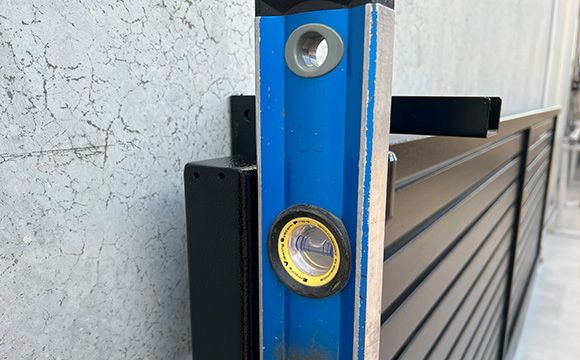
Gate check
Last thing to check is that your gate is plumb in the open and closed positions.

Insert Key

Turn key clockwise to unlock device

Pull the release bar open and slide gate
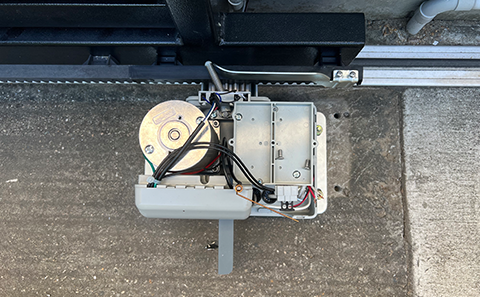
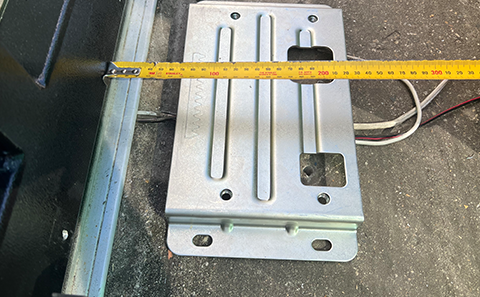
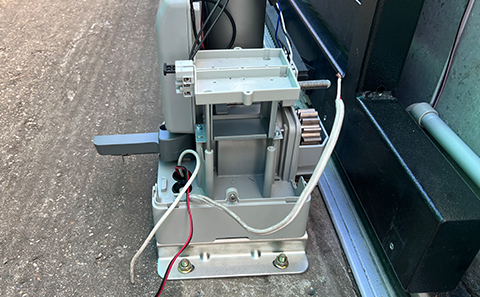
With your concrete slab layed and the correct positioning sorted for your conduit - place the foundation plate on the concrete slab and feed the conduit through the cable inlets of the base plate.
Keep a 60mm distance between the edge of the
base plate and the gate frame. This measurement is based on BMG racking.
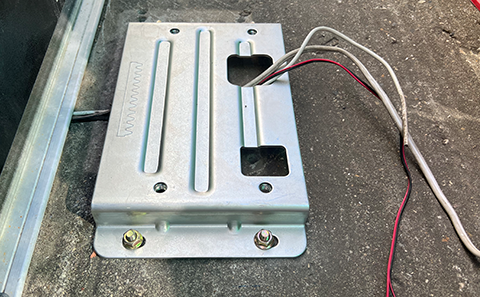
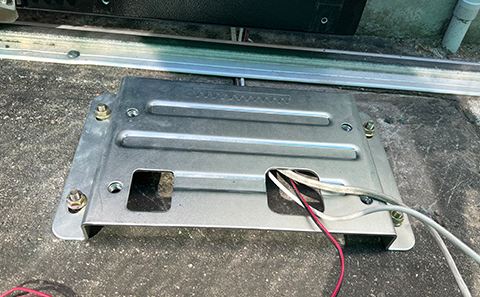
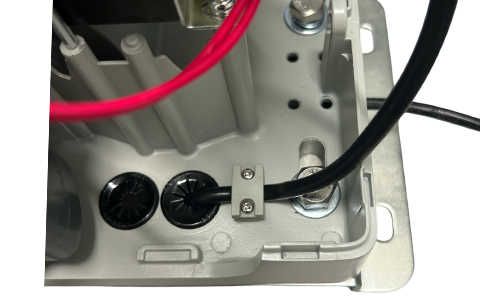
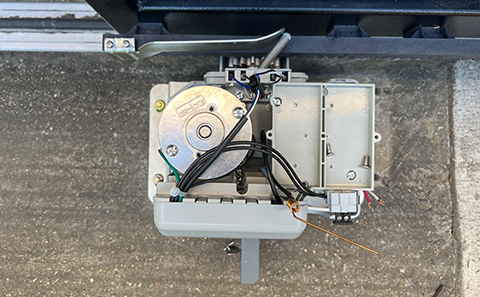
Outdoor Transformer Setup - securing cables
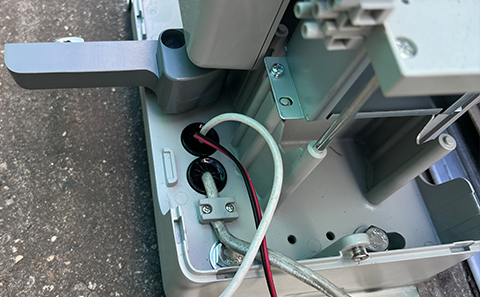
Wire in outdoor transformer as shown below

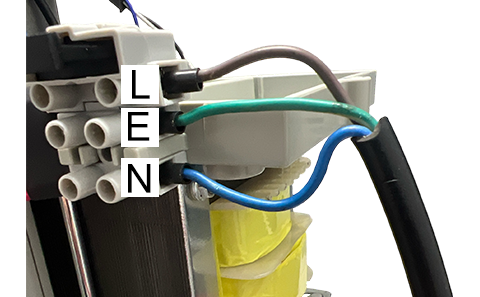
Internal Transformer Setup - securing cables
Hard wire power in as shown below
This MUST be done be a qualified electrician.
This MUST be done be a qualified electrician.
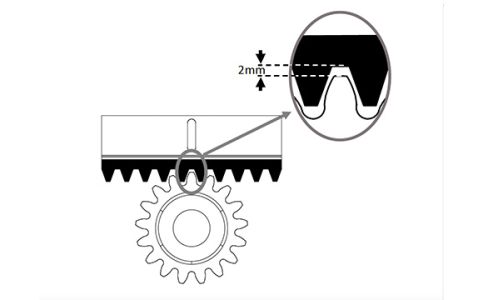
1. Rest the rack on the pinion with the end of the gate aligned. Have the gate in the full open position, clamp one end of the rack to the gate and screw the other end on.
2. Fasten the rack to the gate with the self drilling TEK screws through the slots in the rack. To attach additional rack, slide the gate closed and repeat the procedure.

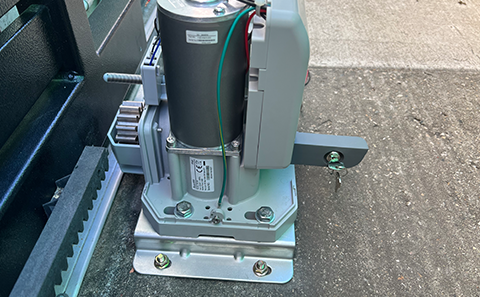
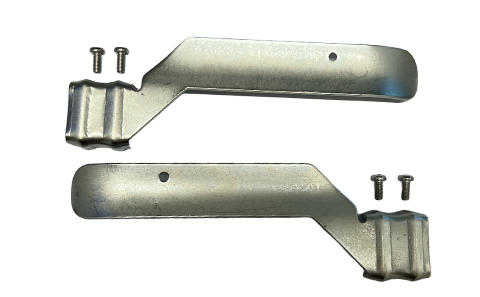
Limit brackets with supplied screws
Limit bracket attached to racking
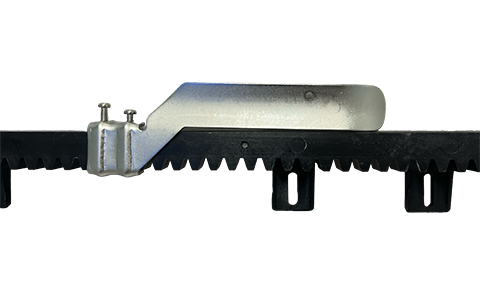
Make sure your motor is in manual mode.
Open the gate until it hits the ground stop, now pull the gate back 40mm and install the limit bracket onto the racking, slide the gate bracket along until it just hits the spring (see image below), now screw the limit bracket to the racking.
Slide the gate into the closed position till it hits the catcher stop, pull the gate back 40mm and install the limit bracket onto the racking, slide the bracket along until it just hits the spring (see image below) and screw it to the rack, ensure both limit brackets are level.