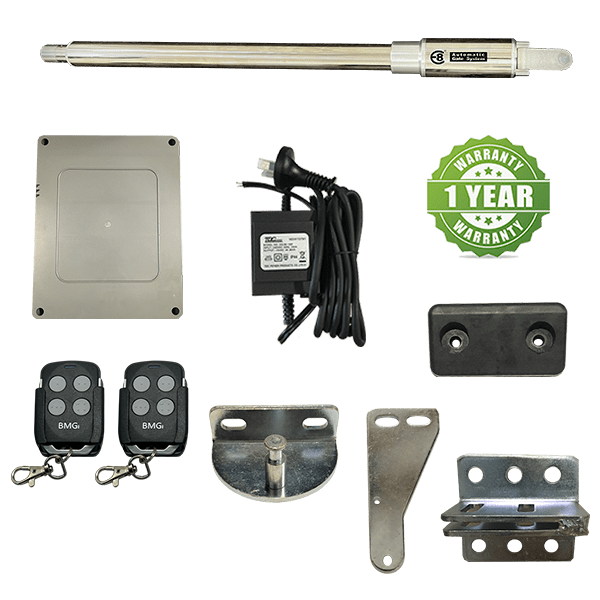
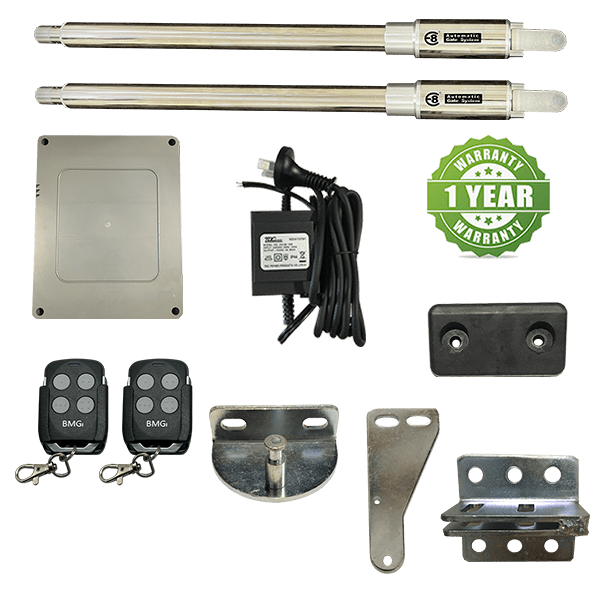
Looking for electric farm gate automation that's built for real Australian conditions? BMGi's DIY-friendly low voltage electric gate kits are trusted by farmers and rural property owners right across Australia — delivering reliable, low-maintenance gate automation with no mains power required.
The E8 balances simplicity with performance — everything you need for dependable gate automation, nothing you don't.
Adjustable force settings through the digital menu
Adjustable auto close up to 99 seconds
Free exit input with separate auto close setting up to 99 seconds
Party mode - allows you to press a button on your remote to override the auto close setting
Adjustable ramp up and ramp down - now you can dictate when the ram with slow down
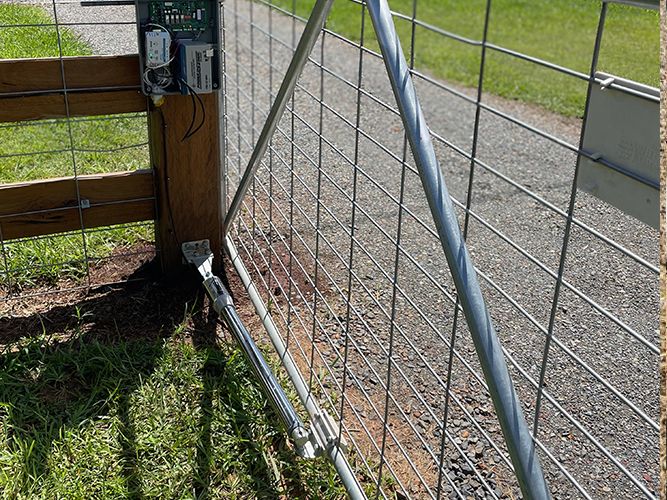
On board receiver to reduce setup time, no more wiring in external receivers
Tunes up to 120 remotes
Energy efficient board
Wireless keypad tunes to onboard receiver
Adjustable time between main gate and slave gate for double swing kits which is useful for units with gate locks or for units that require 1 gate to make it closed first
Reduced over current time out when the gate has reached full open or full closed positions. This alleviates the stress on the gate, hinges and bracket set, the EGA board over current in under 1 second and with less force.
BEFORE YOU BUY
Specifications & Gate Compatibility
Confirm your gate matches these limits before ordering.
Max gate length
4m per leaf
Max gate weight
250kgs per leaf @ 1.5mtrs
Gate type
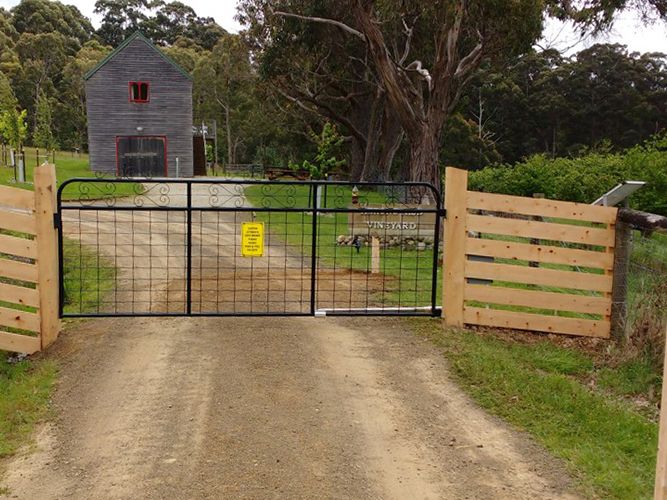
Light - wind Friendly - not enclosed - Farm style
Power
16VDC Transformer
Gear type
Screw drive
Max output power
80 watts per motor
This system suits light to medium-duty gates. It may not be the right fit if your gate is fully solid (high wind resistance), exceeds 15% enclosed surface area, exceeds the weight or length limits above, or needs high-frequency commercial use.
OPTIONAL ADD ONS
Build out your kit
Most customers order the base kit alone — these are here if your gate or property needs something extra.
Scroll through our customer installations on Rural Farm Gates
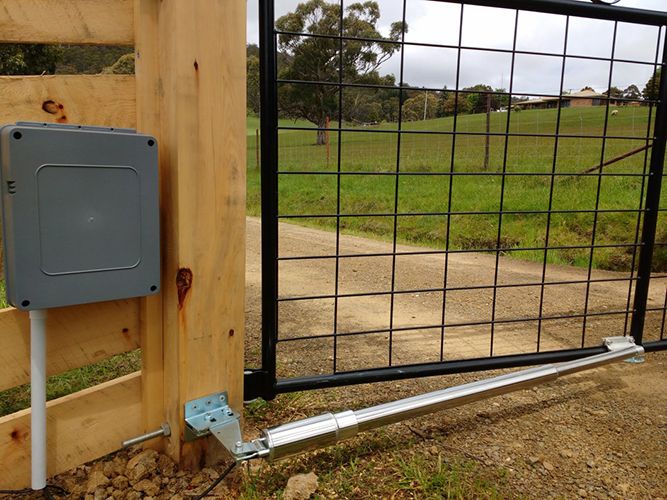
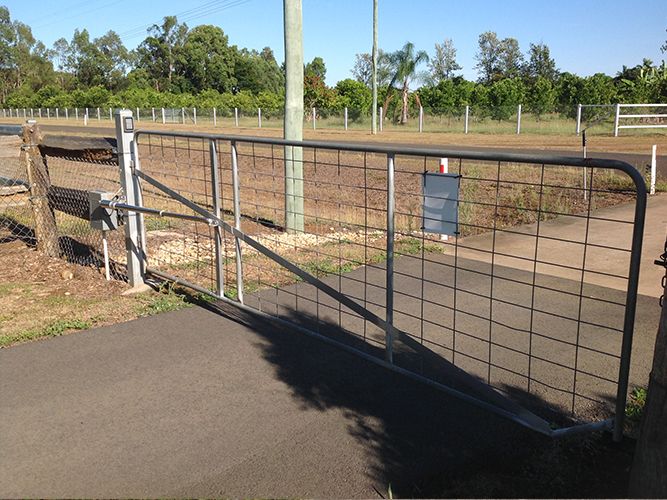
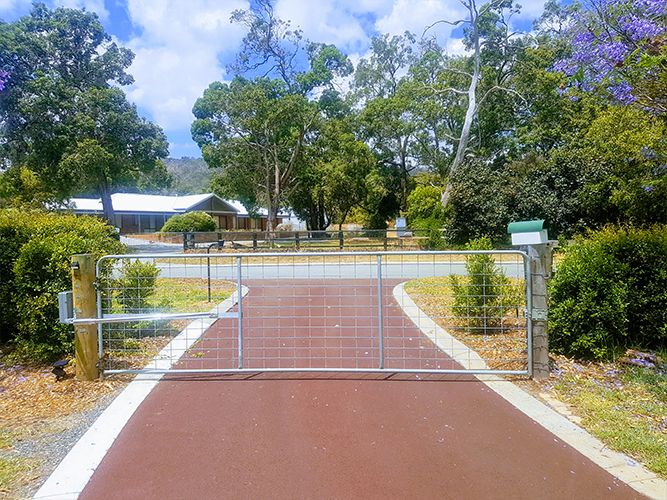
Installation using the round gate bracket with the standard post bracket. This is a pull to open setup with the actuator on the inside of the property, pulling the farm gate into open.
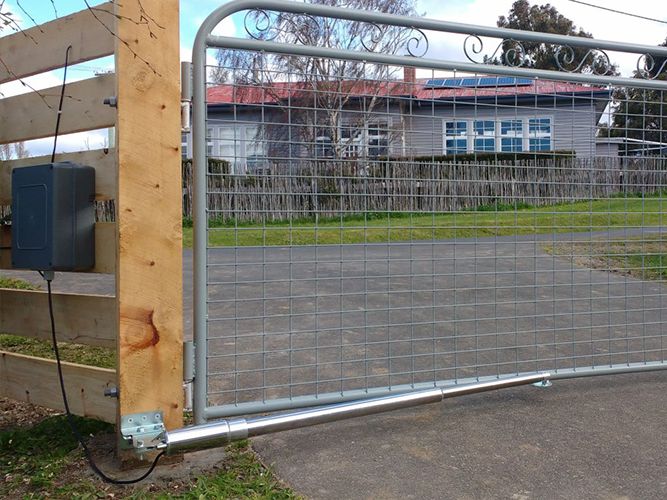
Installation using the standard gate bracket and drilling straight through their farm gate frame along with the standard post bracket. This is a pull to open setup with the actuator on the inside of the property.
Installation using the round gate bracket with the standard post bracket. This is a pull to open setup with the actuator on the inside of the property, pulling the farm gate into open.
Installation using the standard gate bracket and also added a vertical upright to their gate to attached the bracket too. This is a pull to open setup with the actuator on the inside of the property, pulling the farm gate into open. They have also used the gate stop supplied in the kit as a ground stop when the gate is fully closed.
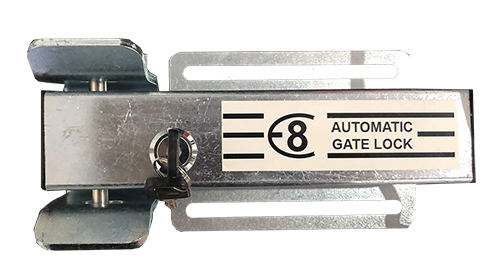
Installation using the round gate bracket and round post brackets to accomodate their round post. This is a pull to open setup with the actuator on the inside of the property, pulling the gate into open. They have added a horizontal mid rail to attach the actuator arm to and also installed our electric gate lock for extra security.
Installation is showing another a push to open setup using the push to open bracket. As you can see this bracket is providing a really good angle between the gate and arm that is required. Without the push to open bracket your actuator arm will run parallel with the gate causing all sorts of issues.
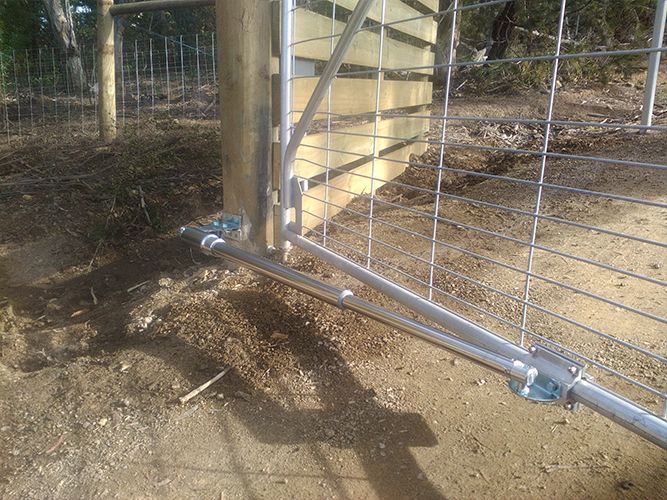
Installation using the standard gate bracket and drilling straight through their gate frame along with the standard post bracket. This is a pull to open setup with the actuator on the inside of the property, pulling the gate into open. Actuator is set to full retraction with the gate in the open position to prevent having to use a gate stop.
Farm Gate Opener Install Photos
WHY BUY FROM BMGI
Support and reliability matter just as much as the product
Expert advice before purchase
Ongoing technical support
Reliable, tested products
Fast Australia-wide shipping
COMMON QUESTIONS
Frequently asked questions
Will this system work if my gate swings outward?
Yes. The E8 can be set up for an inward or outward swinging gate, and you can still have the actuator arm on the inside of the property. If that's your preferred setup, order the E8 outward opening bracket.
Can I add a backup battery for power outages?
Yes. We do offer a 12v 7ah backup battery for times of power outages.
Can I install the E8 myself?
Yes. It's built for DIY installation and comes with instructions & basic handyman skills are usually enough.
What maintenance does it need?
Very little. Just check moving parts, battery condition (backup bttery), and gate alignment from time to time.
Can I add accessories later?
Yes. The system works with keypads, sensors, and remote access modules added any time after install.
Whether it's a solar gate opener for a farm or a simple electric system for your driveway, the E8 delivers reliable performance without the complexity or cost of heavy-duty alternatives.