Swing Gate Accessories for Automatic Swing Gate Openers
The Swing Gate Accessories range from BMGi provides high-quality components designed to enhance the performance, security, and convenience of automatic swing gate opener systems. Whether you need improved access control, better signal range, or added safety, this collection offers reliable solutions for residential, commercial, and rural gates.
Durable Swing Gate Brackets for Secure Installation
BMGi offers a variety of swing gate mounting brackets to suit different post types and gate movements:
- E8 Round Gate Bracket – designed for gates with round posts.
- TMT Round Gate Bracket – tailored to TMT automatic gate systems.
- Round Post Bracket – versatile option for standard round post setups.
- E8 Gate Opens Outward Bracket – ideal for outward-swinging gates.
- TMT Gate Opens Outward Bracket – outward-swing design for TMT models.
These brackets for swing gates ensure a stable, long-lasting installation.
Access Control Devices for Swing Gate Openers
Access Control Devices for Swing Gate Openers
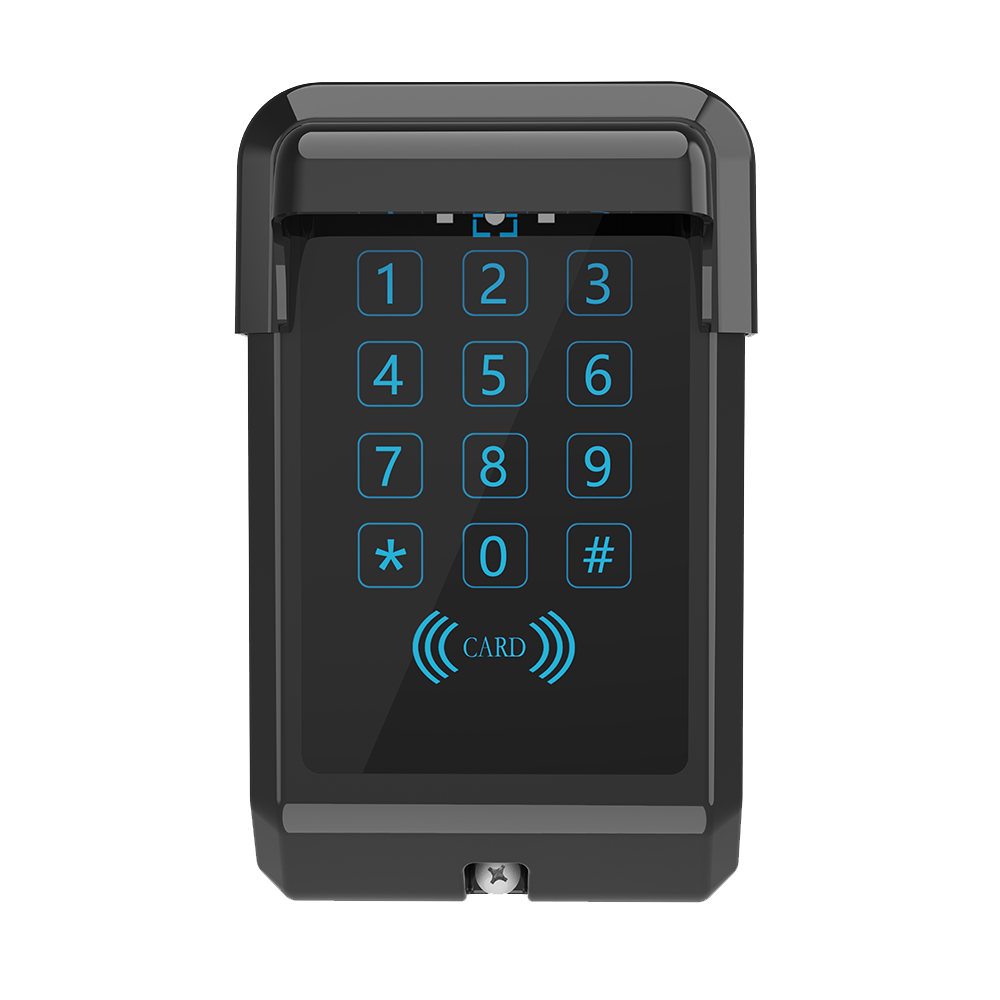
Improve convenience and security with gate access control accessories:
- Wireless Keypad – code-protected entry.
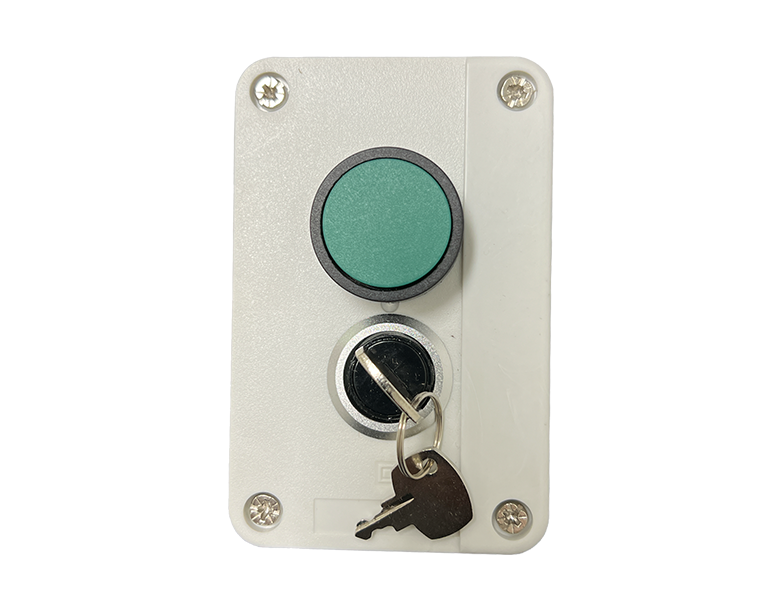
Push Button – simple, wired control.
- Wireless Key Push Button – combines wireless operation with key activation.
- Key Push Button – manual key-operated entry.
These accessories allow automatic gate openers to be operated easily by residents, staff, or visitors.
Smart Connectivity for Remote Gate Operation
The 4G GSM Gate Opener adds remote-control capability via mobile phone or app, making it easy to open or close gates from anywhere. This is ideal for property owners who need flexible, on-the-go gate access.
Extended Range Gate Remotes and Receivers
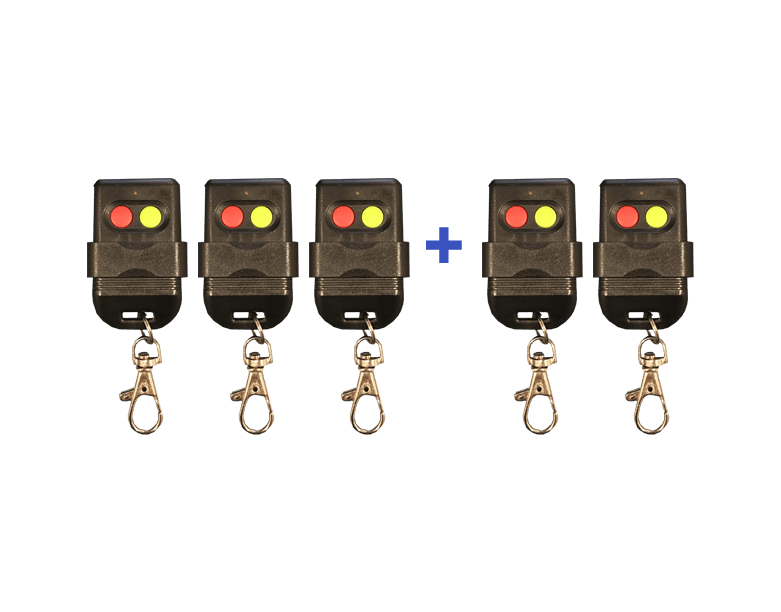
Boost the performance of your automatic swing gate opener with range-extending accessories:
- Booster Antenna – enhances signal strength for better coverage.
- Long Range Receiver – increases remote control distance for large properties.
- Long Range Remote – works with compatible receivers to operate gates from extended distances.
Safety and Security Accessories for Swing Gates
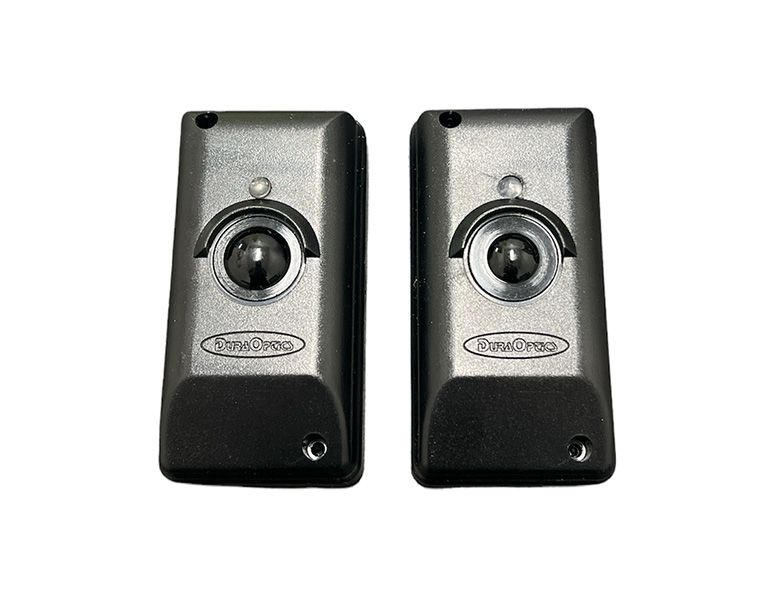
Ensure maximum protection with safety accessories for swing gates:
- Electric Gate Lock – automatically secures the gate with remote, keypad, or push button control.
- Orange Warning Light – alerts people when the gate is moving.
- Eyebeams – wired or semi-wireless infrared sensors to detect obstructions.
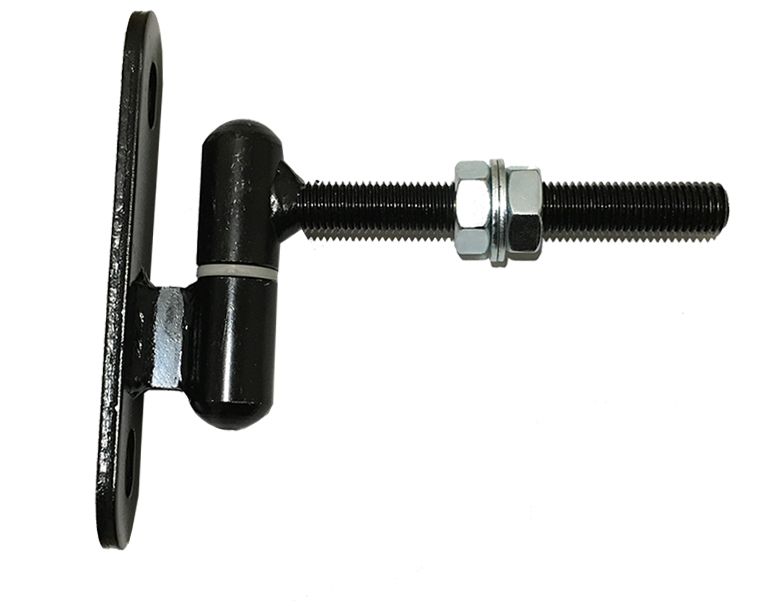
- Adjustable Hinge – fine-tunes gate alignment.
- Warning Signs – clearly indicate gate movement direction.
A 12V battery charger is also available to keep battery-powered systems operating reliably.
Enhance Your Automatic Swing Gate Opener Today
From mounting brackets to remote access devices, these swing gate accessories are designed to improve functionality, increase security, and make daily operation more convenient. No matter your property size or gate setup, BMGi provides the right accessories to keep your gate opener working efficiently and safely.