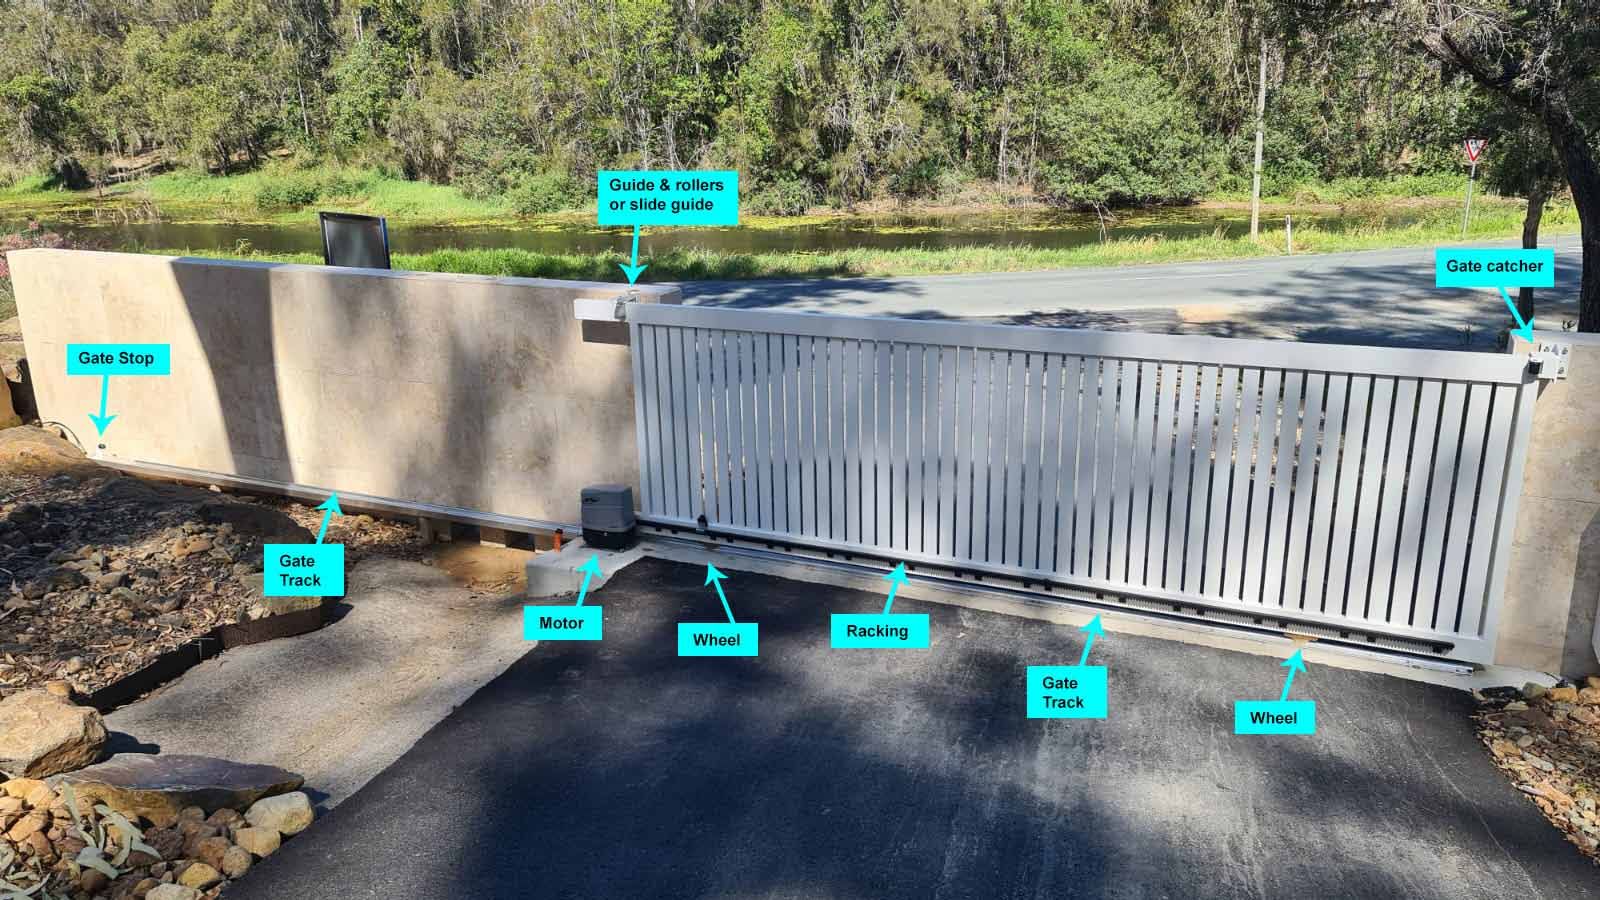
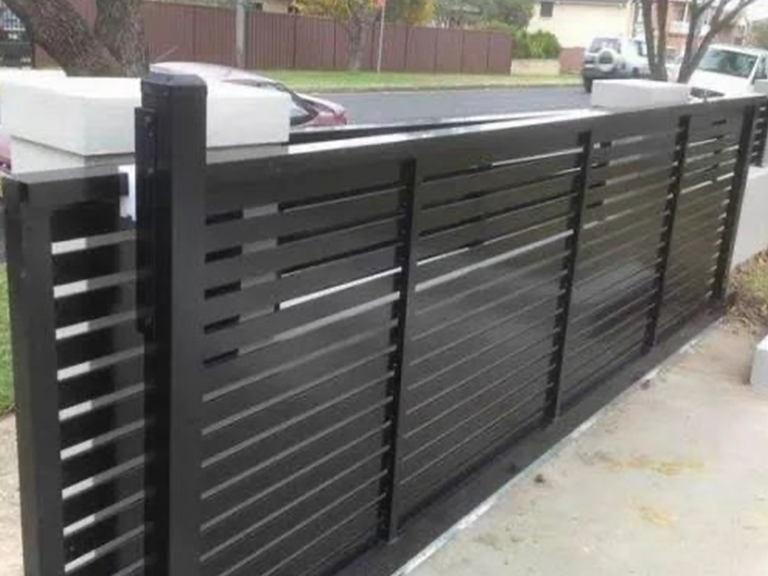
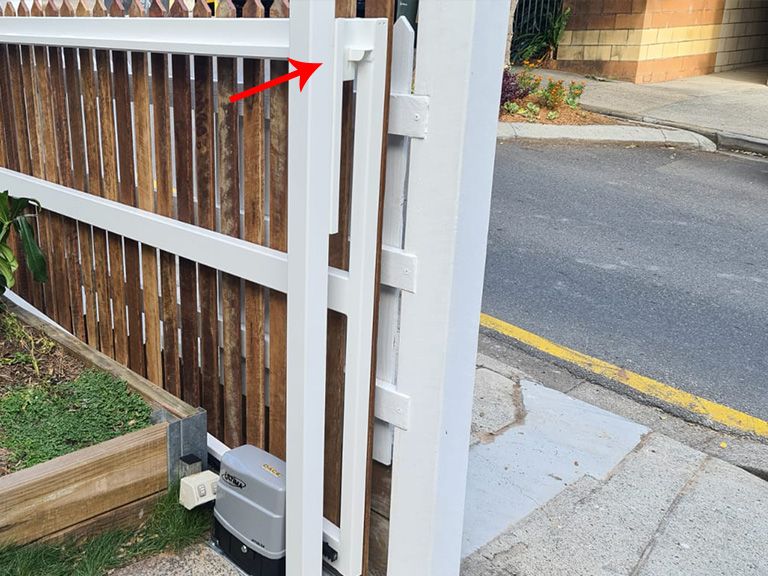
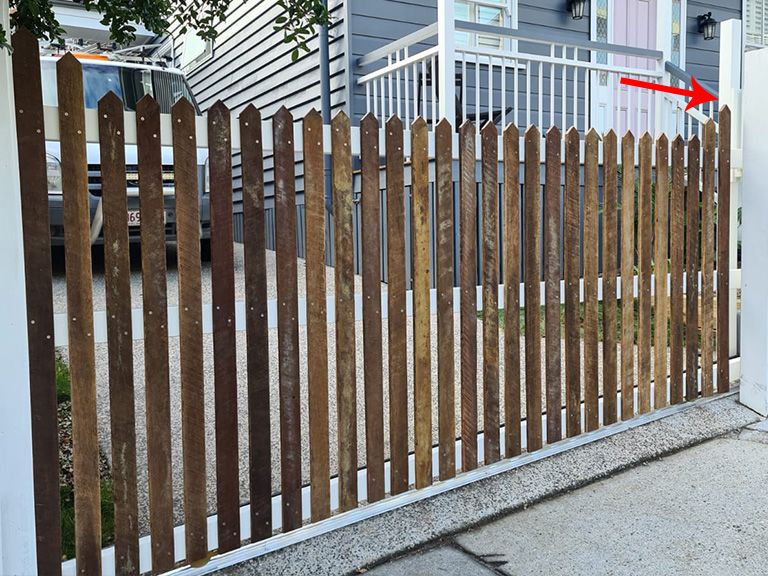
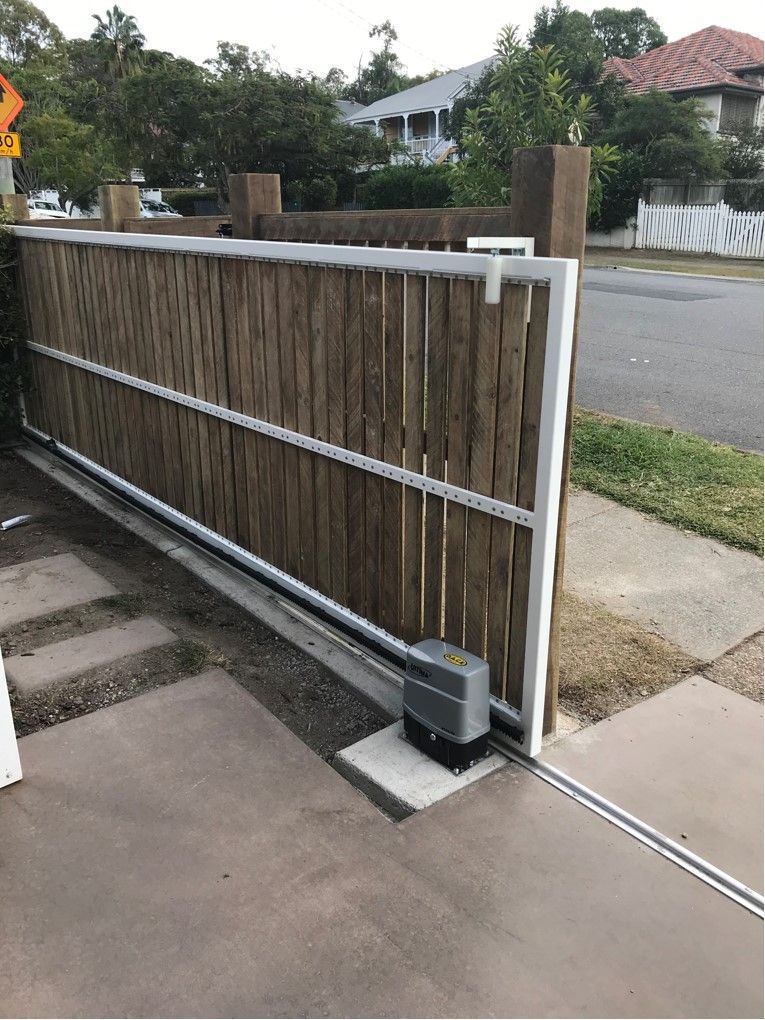
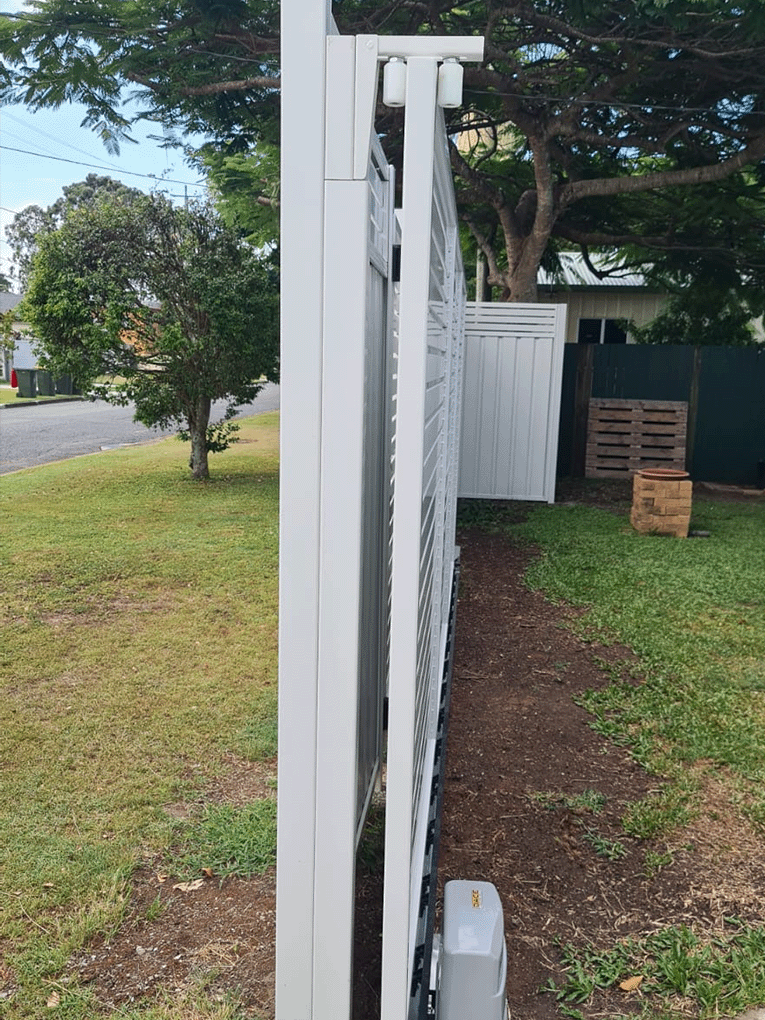
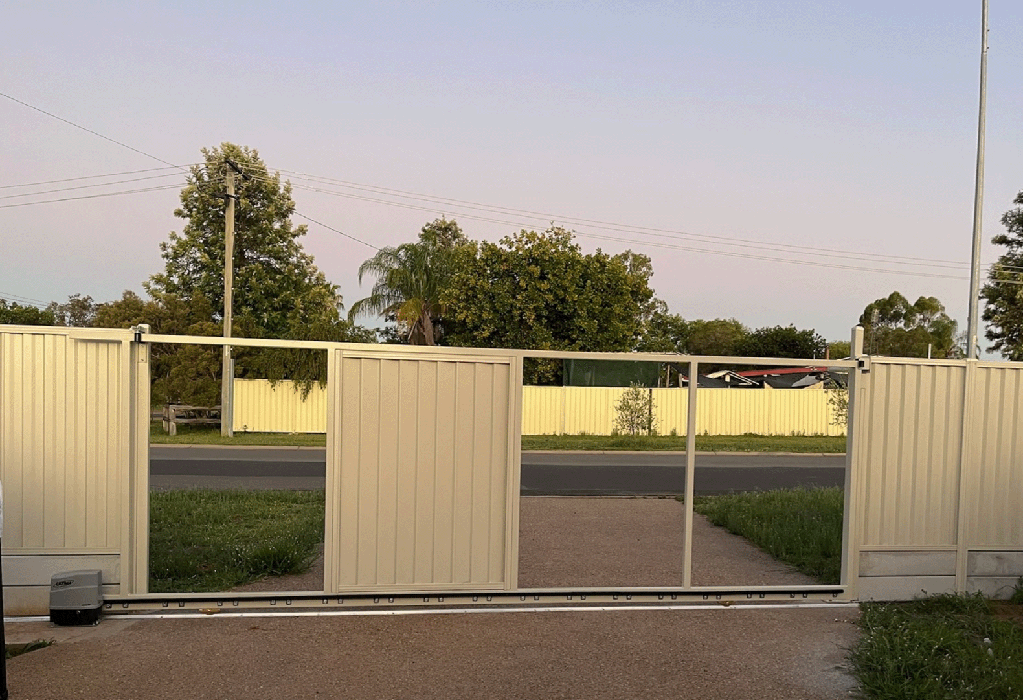
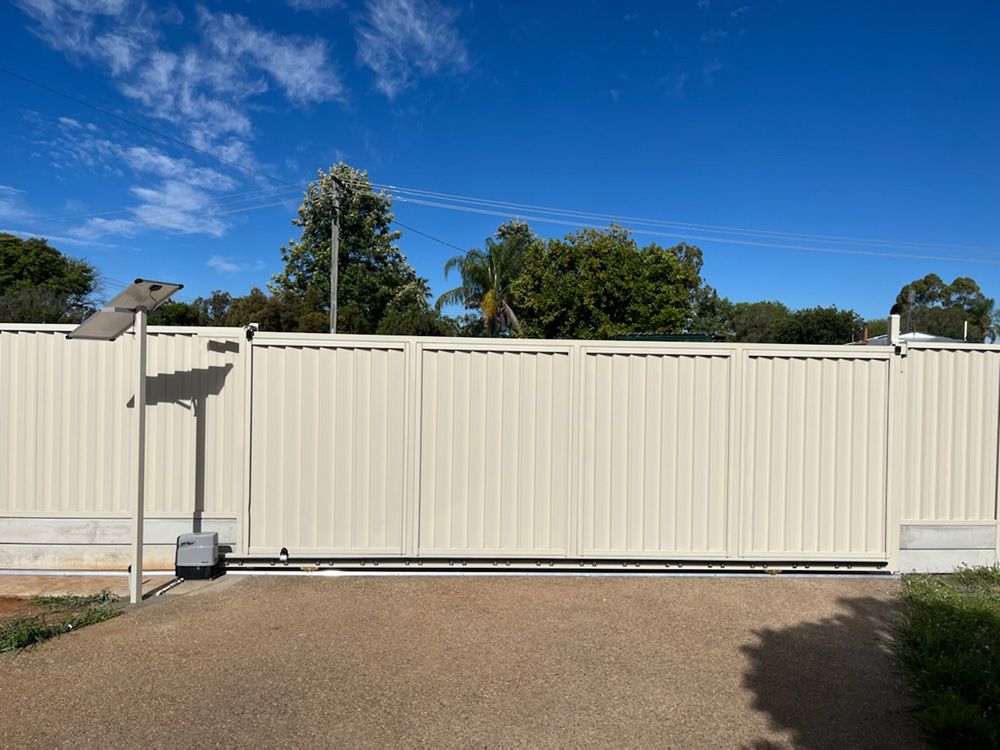
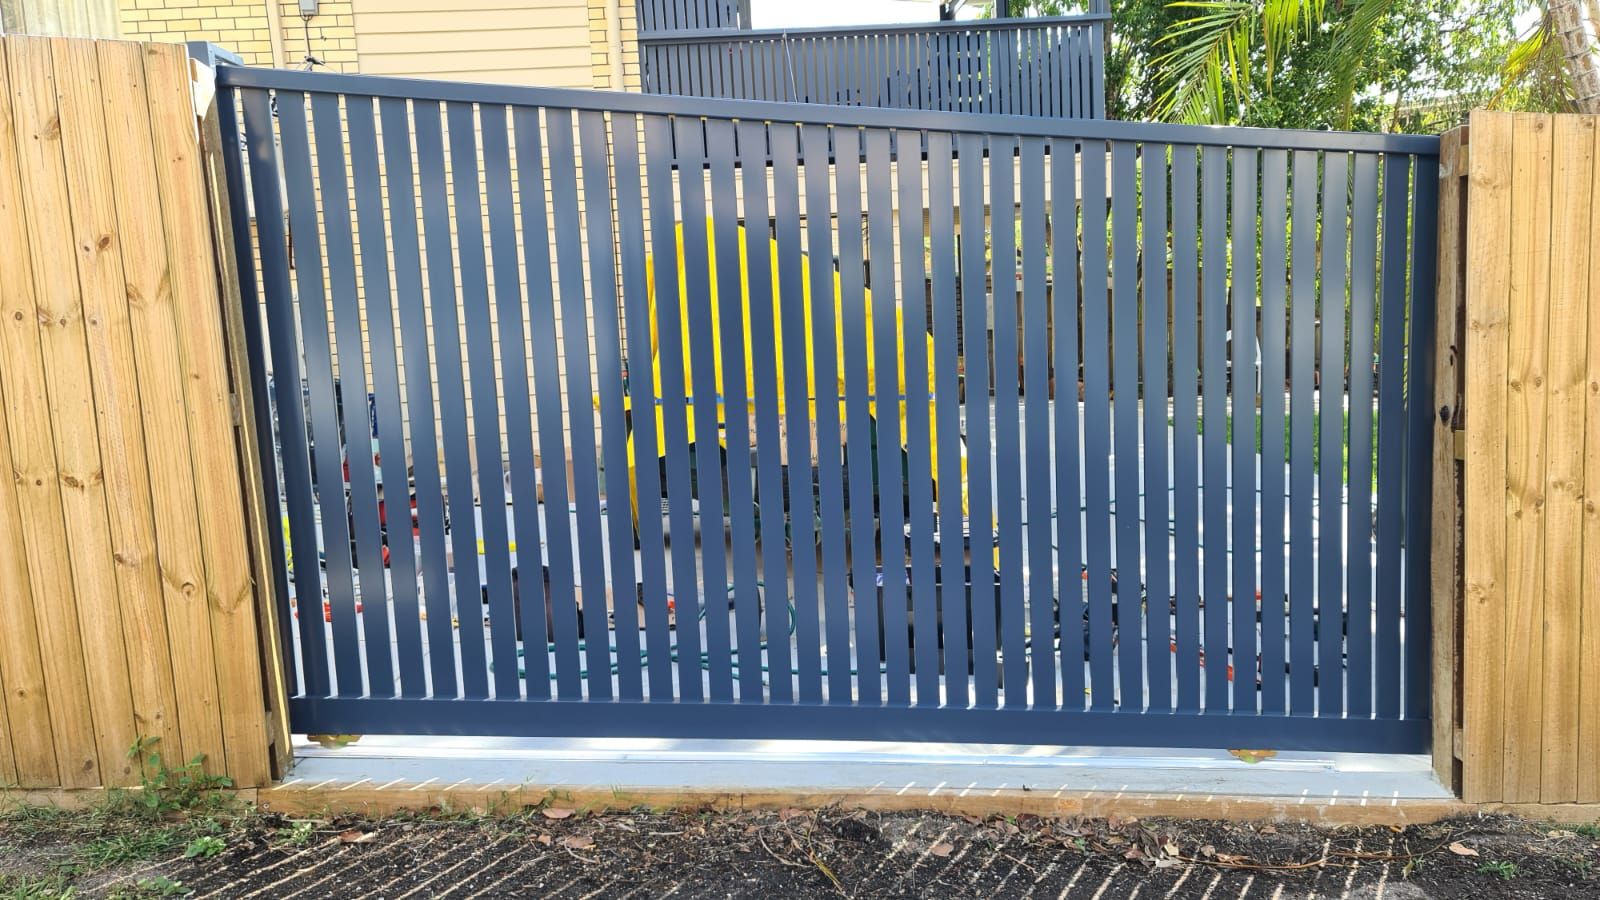
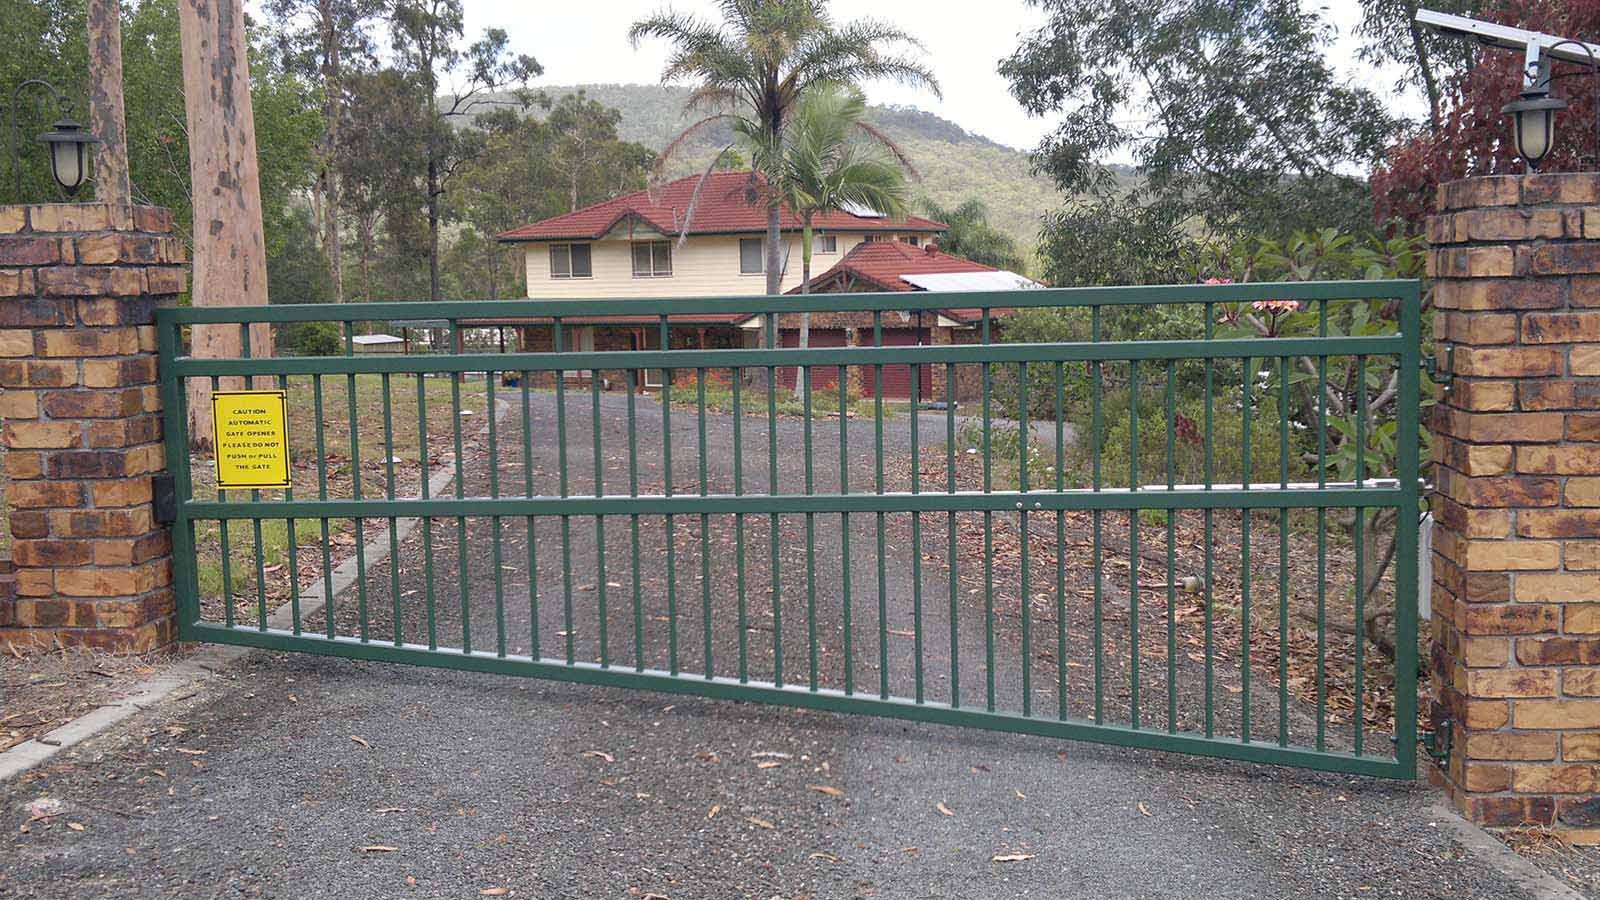
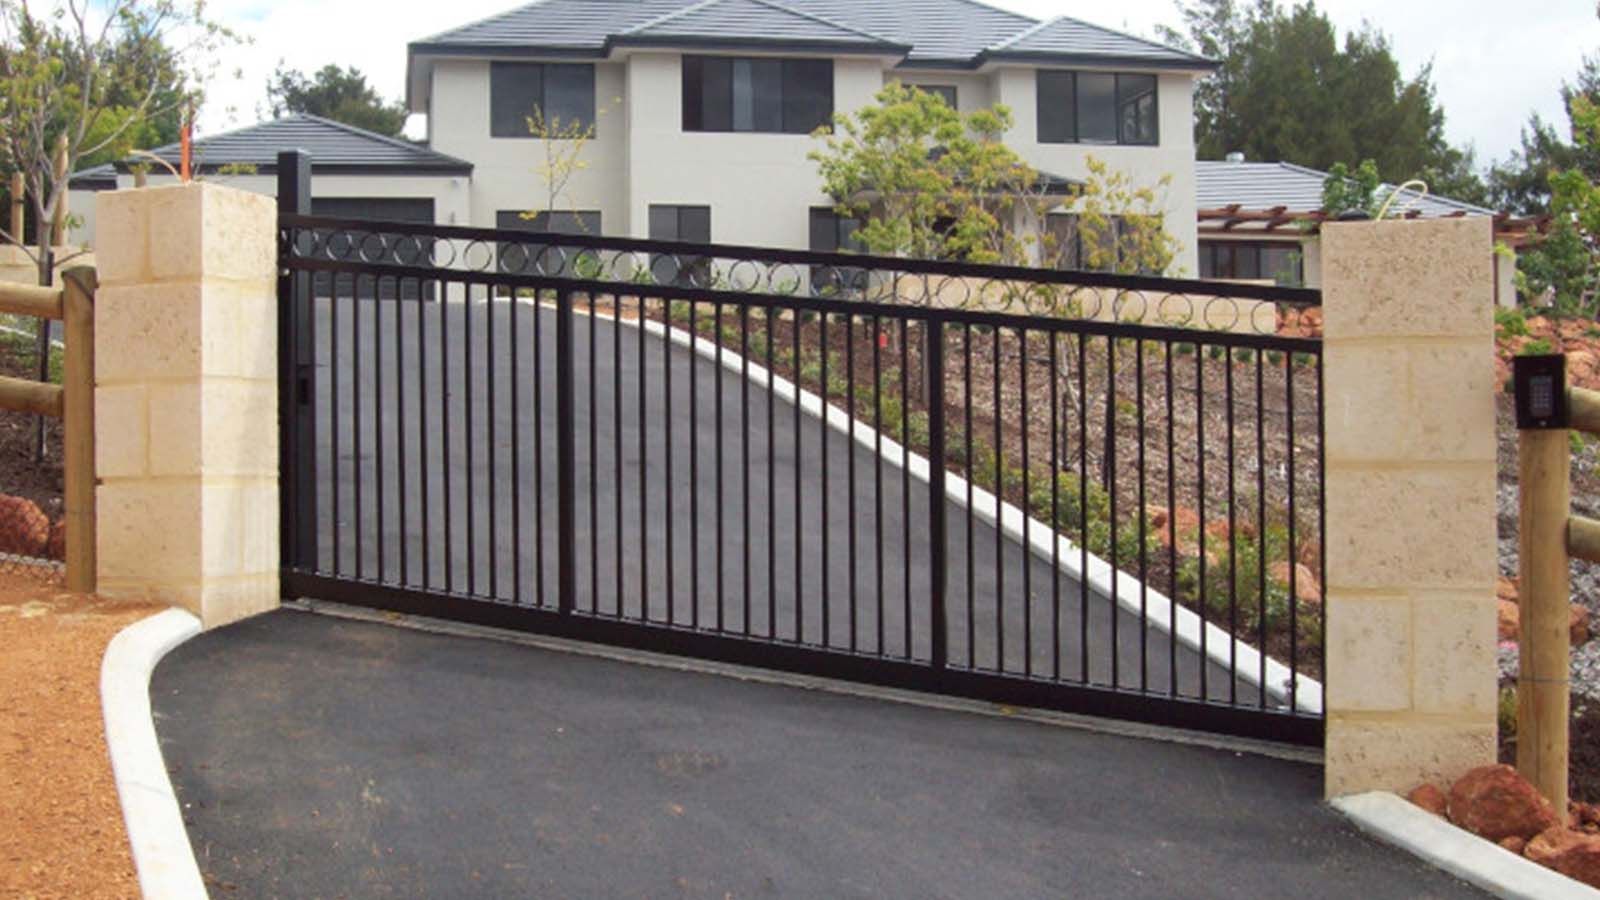
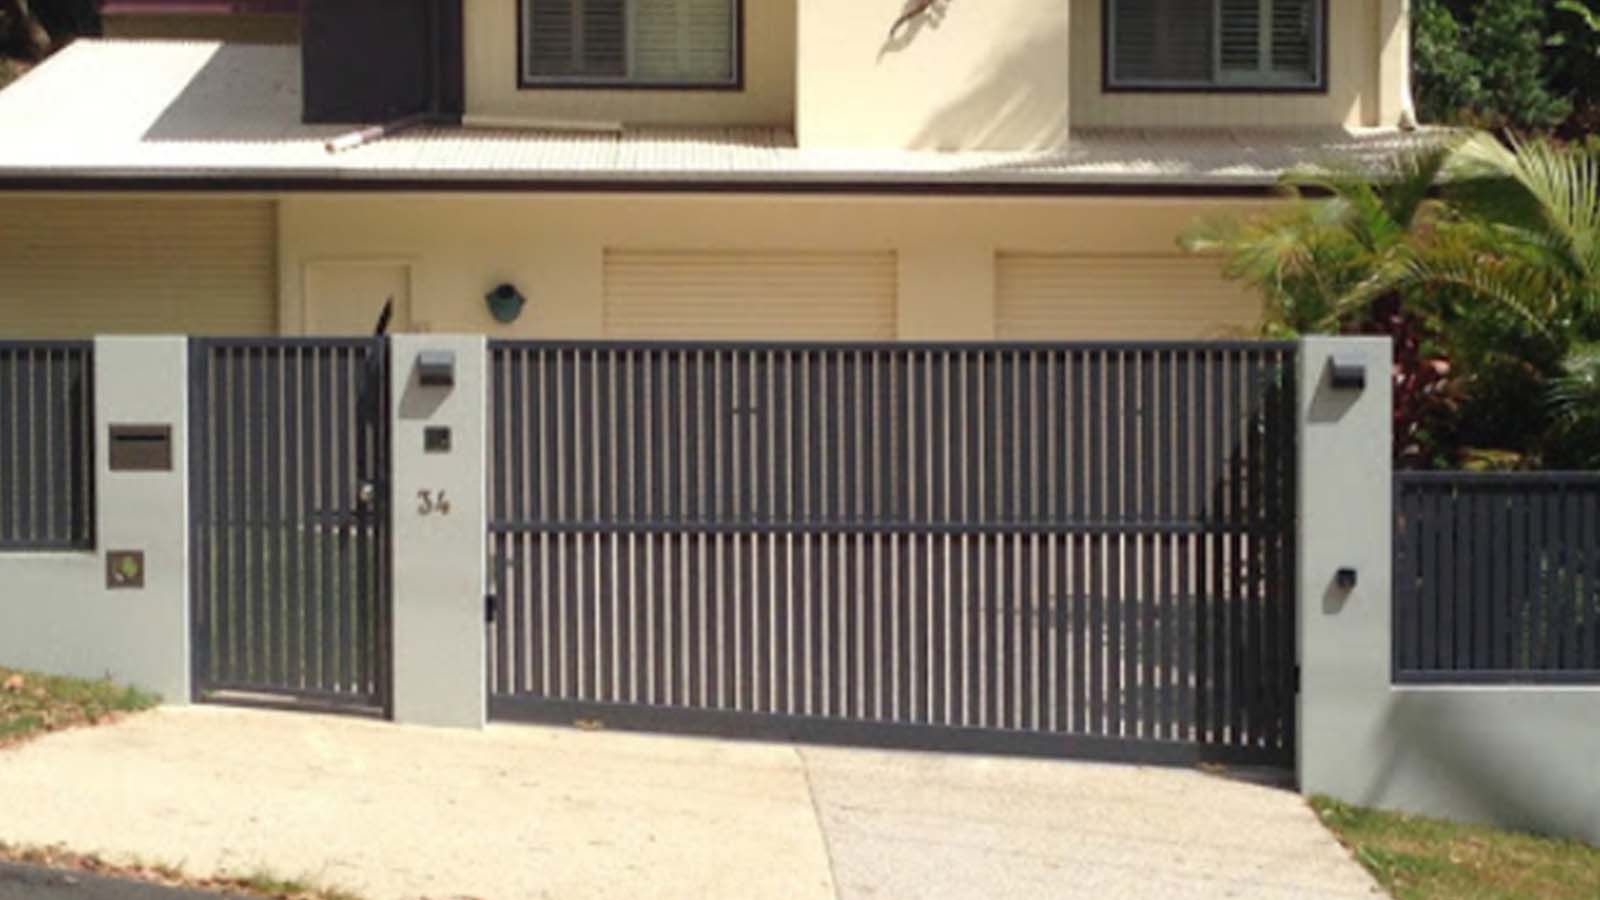
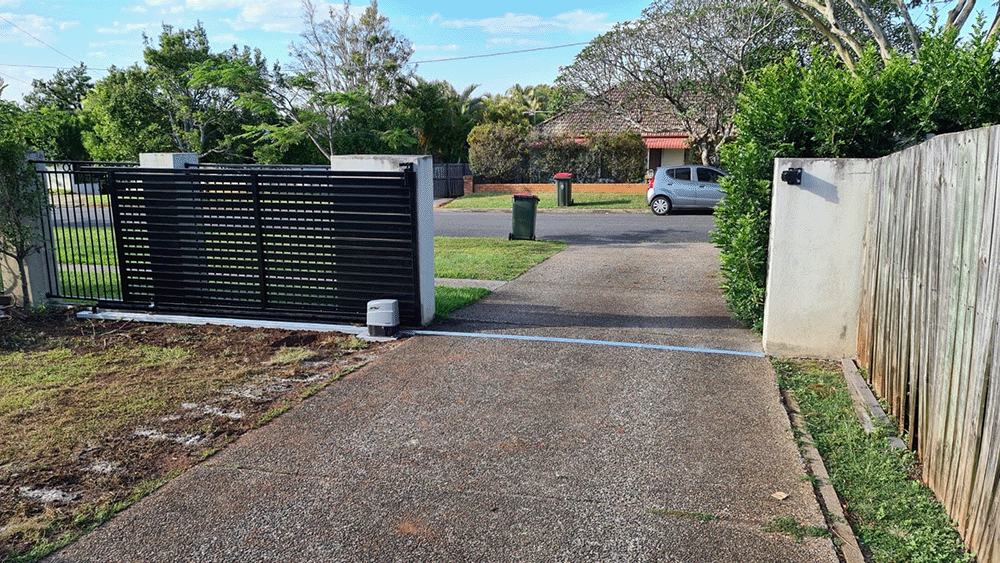
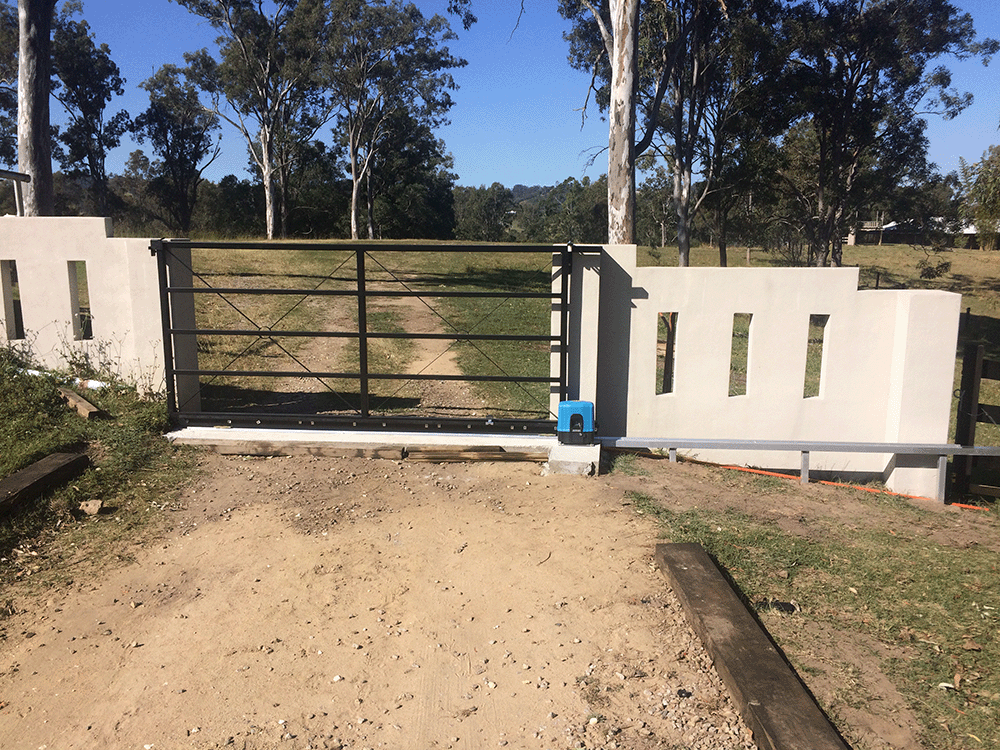
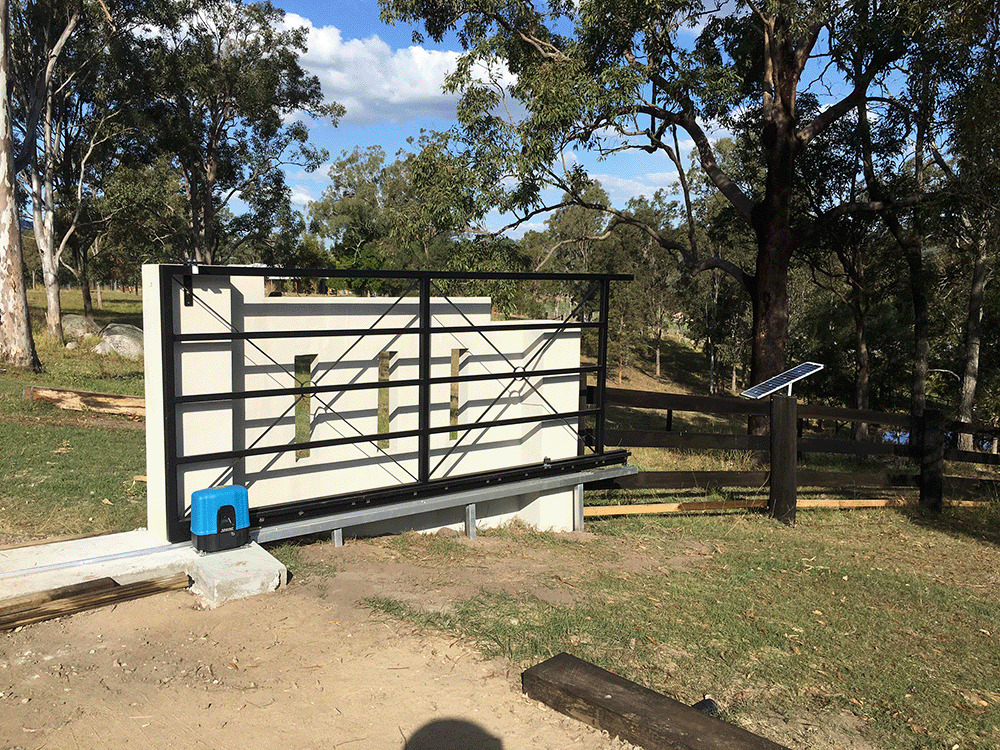
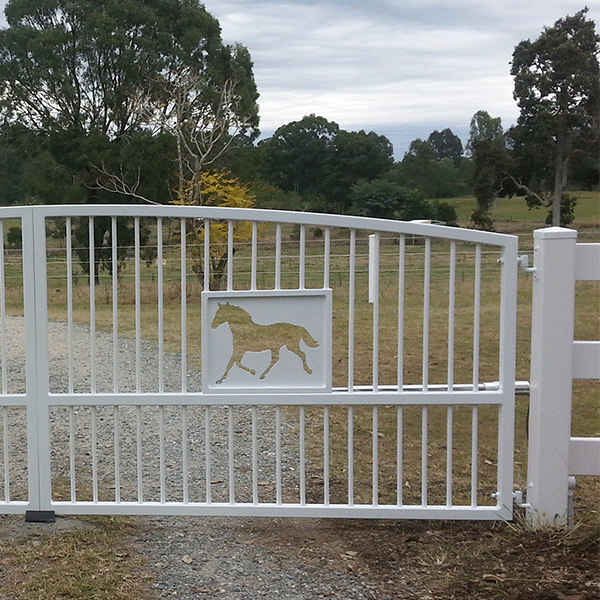
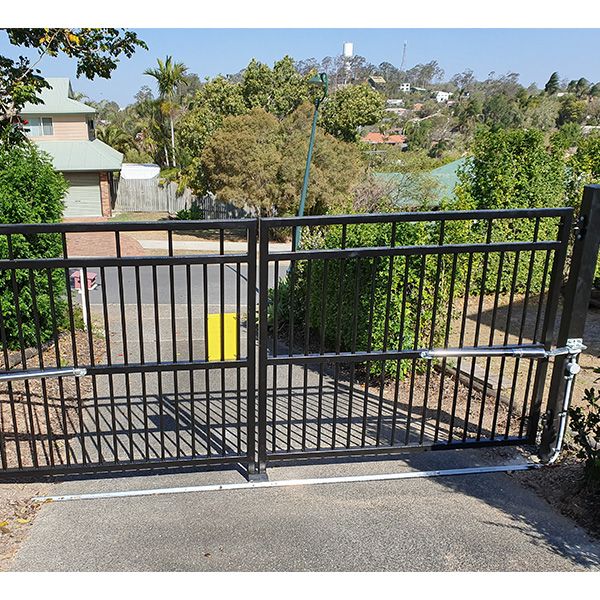
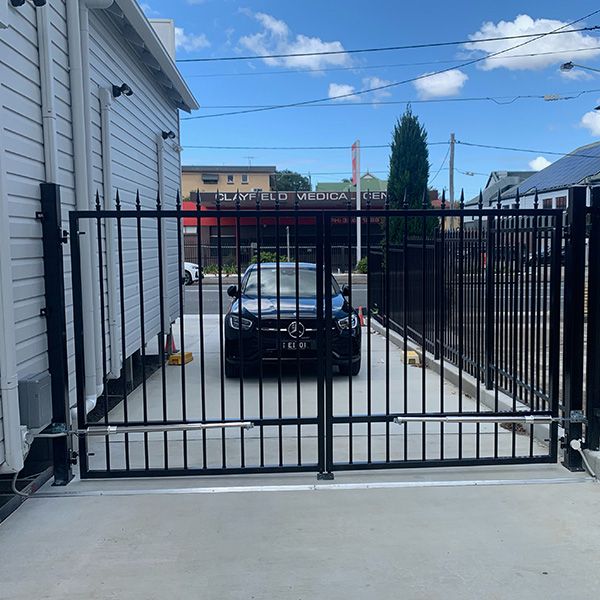
Recommended local installers in your area:
-
A Grade Gate SolutionsM: 0401 238 119Brisbane Northside
-
Cutting HedgeM: 0400 128 632Brisbane Northside
-
Complete Automated GatesM: 0407 742 958Brisbane Northside to Bribie
-
Proformance GatesM: 0411 087 539Brisbane Northside
-
My To Do HandymanM: 0414 319 659Brisbane Northside & Southside
-
LTG Metal CraftM: 0423 685 368Brisbane Northside - Dayboro - Samford areas
Sliding Gate Designs
Swing Gate Designs
What is better suited.......a sliding gate or swinging gate?
Why choose a sliding gate over a swing gate
- The driveway slopes up from the road and the gate is on the front boundary, therefore gates can't push outwards to open.
- The driveway between the house and gate is limited and you wish to park a car close to the gate and still be able to open it.
- You want a fully clad gate for privacy but your area is prone to strong winds.
- The driveway opening is wider than 5 metres.
Why choose a swing gate over a slide gate
- The driveway slopes down from the road and is long so a swing gate would be more cost-effective to install.
- The driveway has no side room for a sliding gate to open.
- The driveway is very uneven or has a large drain.
- If you could have both a swing or a sliding gate, generally a swing gate is an easier option to install and you don't have to worry about keeping the track clear. You will however need to make sure your posts are concreted in well.
Driveway Gate Setup ideas

Gate Guides - sliding gates
Gate guides are required to keep the gate upright and guide the gate as it's moving, here are 2 options available.
Slide & guide block
Below images are examples of the slide and guide block setup.
This setup is required when you have a fall across your driveway and guide/rollers are not ideal.
Also if you have a gate with timber pailings attached to the frame face or a top rail design that does not allow the guide and roller setup.
Usually this setup will require a post on the inside of the gate (near the motor) where your guide will be mounted to.
If you require your gate to sit flush/inline with the existing fence line then this option will be best.


Guide bracket with rollers
Below images are examples of the guide bracket and rollers - this is your most ideal setup.Your guide bracket will usually be installed on your gate/fence post already installed.
If you have a fall over the driveway, this setup may still be possible, check if you can install longer rollers to suit.
Keep in mind your bracket will need to sit approx. 40 - 50mm above your gate, so make sure your post is a little higher than your gate finished height, otherwise you bracket will be sitting above your post. If you're not fussy about the bracket above your post height then this will be fine.
If you need your gate to sit inline with your fence then look at using the slide guide and block setup.


Colour bond Gates
Below images are examples of solid colour bond gates.
You may have an existing colour bond fence and want to finish it off with a matching driveway gate.
Why not have a frame made up and insert your colour bond panels inside the frame.


Driveway not level
Below are some images showing how gates can be fabricated if your driveway is not level,
or if you have a sloping block and the gate needs to run with the land fall and fence line.


Gate Bridge - sliding gates
Below images are an example of gate bridges.If you have a steep slope adjacent to your driveway and a concrete plinth is not feasible or desirable for your gate, then these bridges can be an excellent solution. The bridge is constructed by installing three or more legs at equal intervals along its length. These legs are then securely anchored into the ground using concrete. The length of the bridge will depend on the size of the gate and the width of the area that needs to be spanned.


